
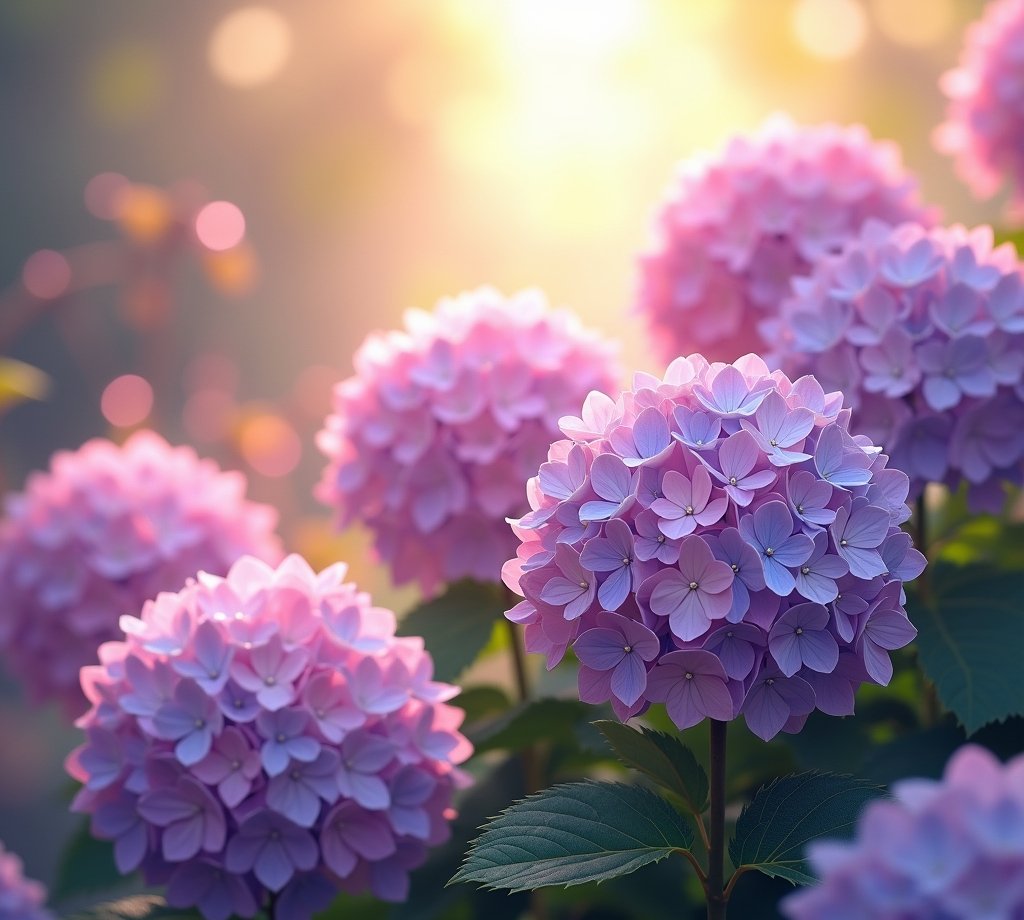
Hydrangeas enchant every garden with their lush floral splendour in the most beautiful colours from white to pink to strong blue. The robust shrubs are true quick-change artists, which present themselves in different colour nuances depending on the soil conditions and provide dreamlike garden moments from June to autumn.
Once you have succumbed to the fascination of this versatile plant, you would like to decorate your whole garden with it. With the right care tips and a little gardening skill, hydrangeas can also be propagated wonderfully and grown into magnificent specimens. Here you will learn the most important basics for successful hydrangea care.
Planting hydrangeas correctly
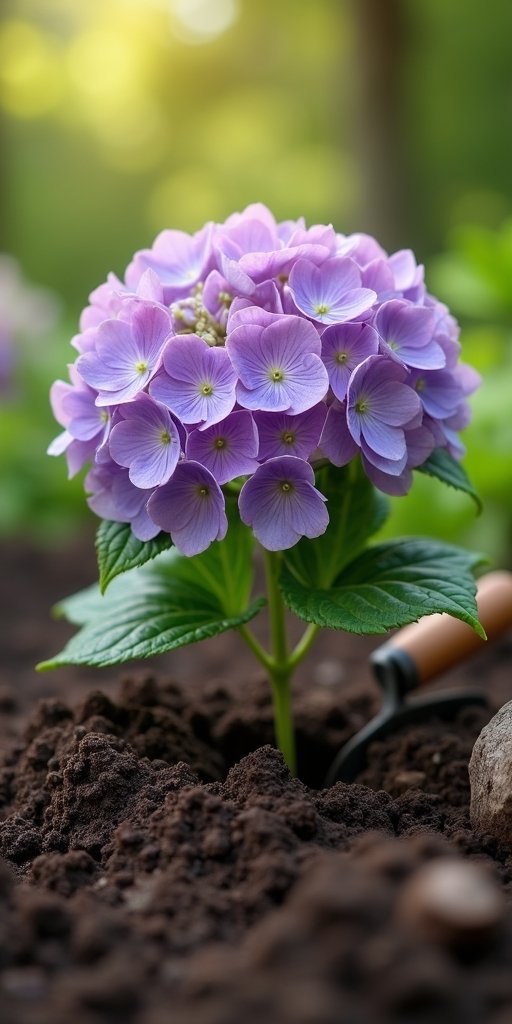
After planting, the hydrangea must be watered thoroughly, and a mulch layer of bark mulch or foliage will help retain moisture in the soil. In the first few weeks after planting, regular watering is particularly important so that the roots can develop well. Annual fertilisation in spring with a special hydrangea fertiliser supports healthy growth and lush flowering.
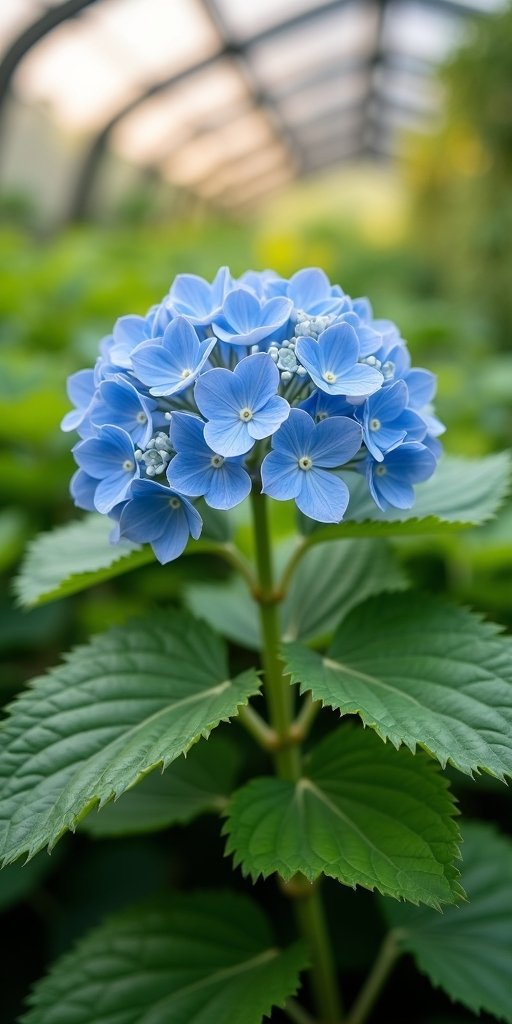
The best locations for hydrangeas

The wind protection of the site also plays an important role, as strong winds can damage the delicate flowers. The soil should be slightly acidic, with a pH between 5.0 and 6.5. When planting, it is important to ensure sufficient distance from other plants, as hydrangeas require a lot of space with their spreading roots and lush leaf development.
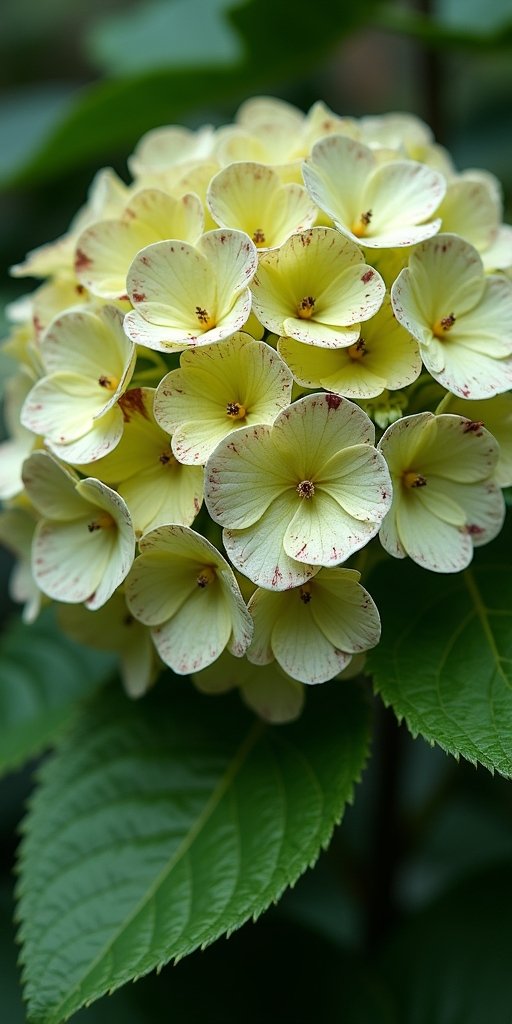
Hydrangea varieties for every garden
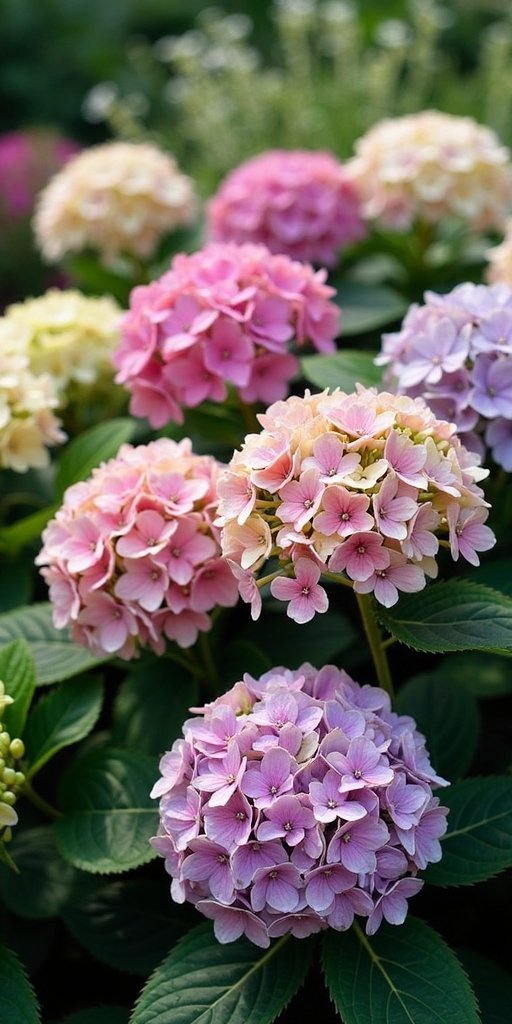
For shady locations, the oak leaf hydrangeas with their attractive autumn colours are particularly recommended, while the velvet hydrangea with its velvety leaves also thrives in sunny places. The endless summer hydrangeas, which keep producing new flowers from June until the first frost, are also particularly popular. Due to the large variety of varieties, there is a suitable hydrangea for every garden and location.
Soil conditions for healthy hydrangeas

Regular soil loosening and a mulch layer of organic material promote soil moisture and microclimate. The soil should be enriched with a special hydrangea fertiliser in spring to provide sufficient nutrients for flower formation. If the soil is too alkaline, the pH value can be lowered by adding rhododendron soil or special hydrangea soil, which is particularly important for the colour expression.
Pruning and caring for hydrangeas
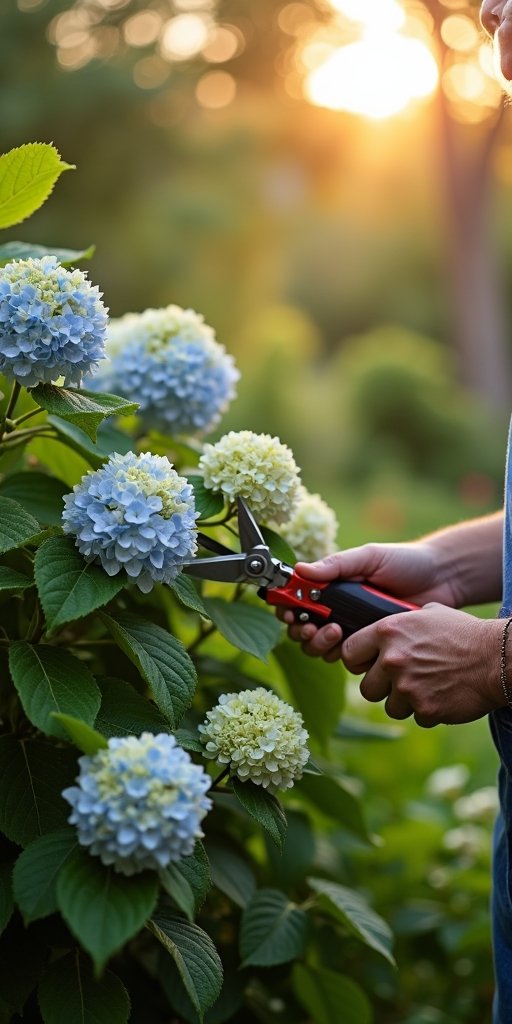
The right pruning is crucial for lush flowering next year. In the case of farmhouse hydrangeas, faded inflorescences are cut back to the first strong bud in early spring. Panicle hydrangeas, on the other hand, can be greatly shortened in late winter, as they bloom on this year’s wood. Pruning old and weak shoots ensures compact growth and promotes the formation of new, strong flower shoots.
Successfully overwintering hydrangeas
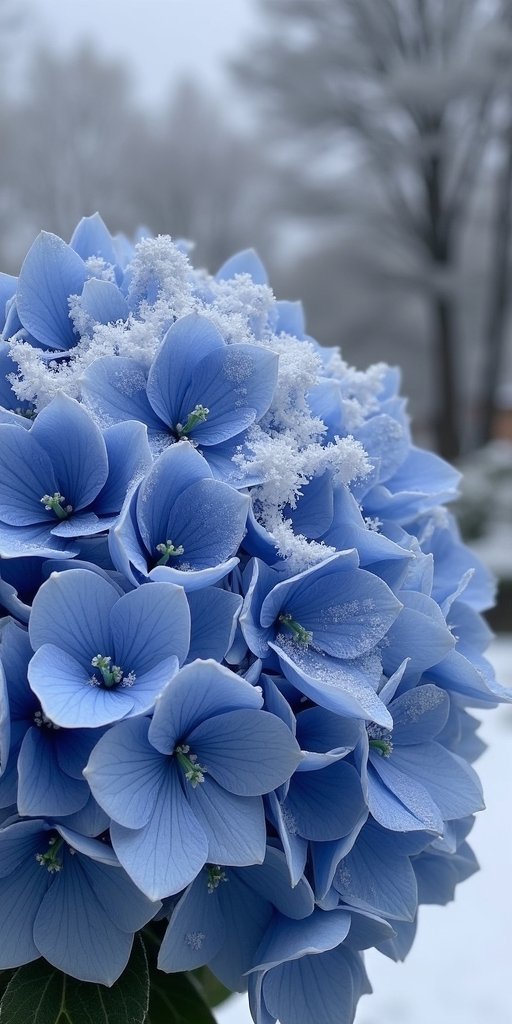
It is particularly important to protect the sensitive buds that form in autumn for the next year. For outdoor plants, the base is heaped with leaves or mulch and the above-ground parts are loosely wrapped with jute bags or fleece. On sunny winter days, the cover should be ventilated to prevent mold growth.
Dyeing blue hydrangeas
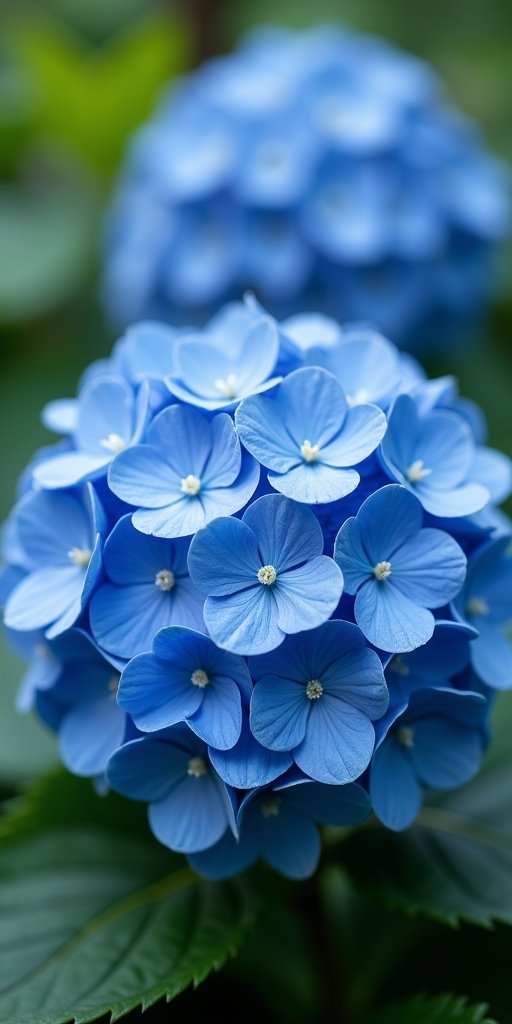
However, the blue colouring only works for pink or purple varieties of farmhouse hydrangea. White hydrangeas cannot be recoloured. It is also important to have an adequate water supply, as hydrangeas need a lot of moisture. If the soil is too dry, the plants will not be able to absorb the colouring substances sufficiently. The success of blue coloration usually only becomes apparent after a few weeks of regular treatment.
Detecting diseases in hydrangeas
To prevent diseases, it is important to take optimal care of hydrangeas. This includes a suitable location with sufficient air circulation, correct irrigation without waterlogging and needs-based fertilisation. At the first signs of disease, infested plant parts should be removed immediately and disposed of properly. In severe cases, special pesticides can be used.
Propagating hydrangeas made easy
Another option is to lower shoots close to the ground. A healthy twig is carefully bent to the ground and fixed with a wire hanger after the bark has been lightly scratched. The area is covered with soil and kept moist. After a few months, roots will have formed, and the new offshoot can be separated from the mother plant.